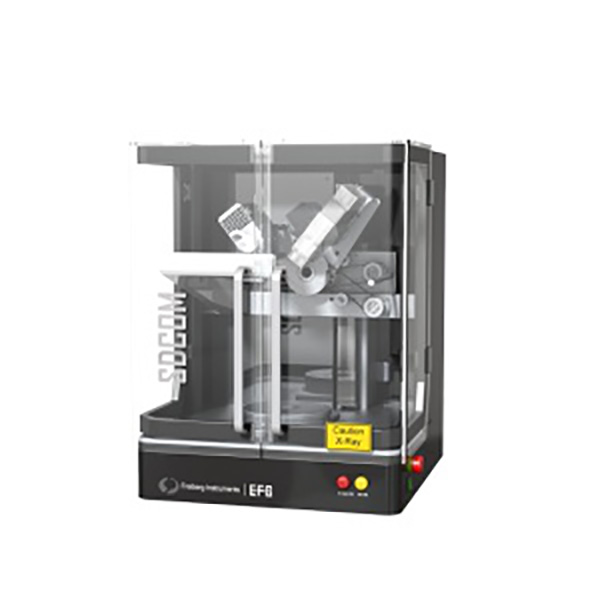
Technical characteristics
Capable of measuring crystals as small as 1mm to or larger samples
Various sample racks and conveying fixtures, used for wire saws, polishing, etc
Option for lateral crystal direction marking
Water free cooling
L * * Precision: 0.01 ° (depending on crystal quality)
Determine the complete lattice orientation of a single crystal
Ultra high speed crystal positioning measurement using Omega scanning method
Air cooled X-ray tube, no need for water cooling
Suitable for research and production quality control
Manual operation (without automation options)
Examples of Measurable Materials
Ø Cube/Any unknown direction: Si, Ge, GaAs, GaP, InP
Ø Cubic/Special orientation: Ag, Au, Ni, Pt, GaSb, InAs, InSb, AlSb, ZnTe, CdTe, SiC3C, PbS, PbTe, SnTe, MgO, LiF, MgAl2O4, SrTiO3, LaTiO3
Ø Square: MgF2, TiO2, SrLaAlO4
Ø Hexagonal/triangular: SiC 2H, 4H, 6H, 15R, GaN, ZnO, LiNbO3, SiO2 (quartz), Al2O3 (sapphire), GaPO4, La3Ga5SiO14
Ø Orthorhombic crystal system: Mg2SiO4 NdGaO3
Ø Further material selection can be made according to customer requirements
Marking and measurement of plane direction
During the injection and lithography process of wafers, flat or grooved surfaces are required as positioning markers. During the cutting process, the chip must correctly align with the lattice planes on the quasi crystal wafer that are easy to cut. Therefore, it is crucial to check the position of the plane or gap.
To determine the position of a plane or gap, it is necessary to measure the components within the plane. Due to the Omega scanning method being able to determine the complete crystal orientation in a single measurement, it is possible to directly identify units or gaps in the plane direction or inspection direction.
DDCOM can convert any plane direction to a specific position specified by the user by rotating the turntable. When it is necessary to define the plane direction, this can simplify the process of applying markers to specific plane directions.


