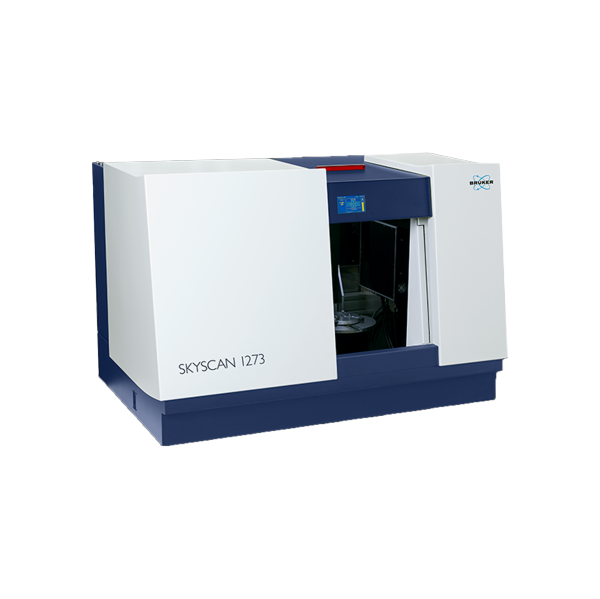
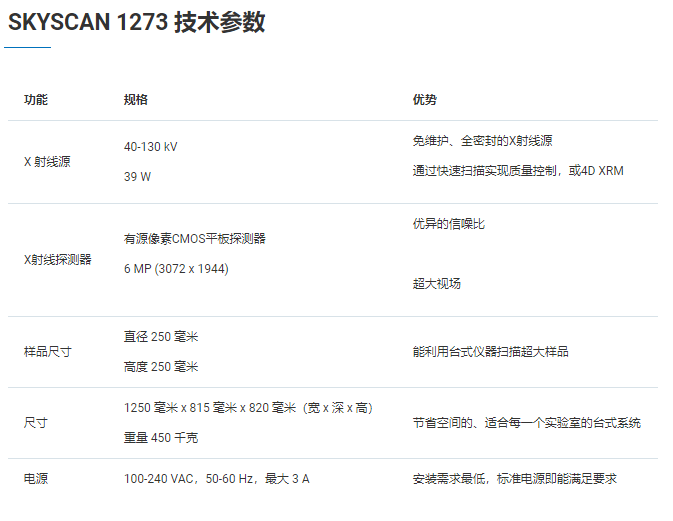
SKYSCAN 1273 has set a new standard for desktop devices for non-destructive testing, achieving performance that was previously only achievable through floor standing systems. It can detect samples up to 500 mm in length, 300 mm in diameter, and weighing up to 20 kg.
Combining a higher power high-energy X-ray source with a large-sized flat panel detector with extremely high sensitivity and readout speed, it can obtain excellent images in just a few seconds.
Brand: Brooke
Model: SKYSCAN 1273
Minimum order quantity: 1
Unit: Unit
Packaging instructions: Standard shipping packaging
SKYSCAN 1273 sets a new standard for desktop devices for non-destructive testing
It achieves performance that was previously only achievable through a floor standing system.
It can detect samples up to 500 mm in length, 300 mm in diameter, and weighing up to 20 kg.
Combining a higher power high-energy X-ray source with a large-sized flat panel detector with extremely high sensitivity and readout speed, it can obtain excellent images in just a few seconds.
SKYSCAN 1273 has 3D SUITE supporting software. This comprehensive software package includes GPU accelerated reconstruction, 2D/3D morphology analysis, and surface and volume rendering visualization.
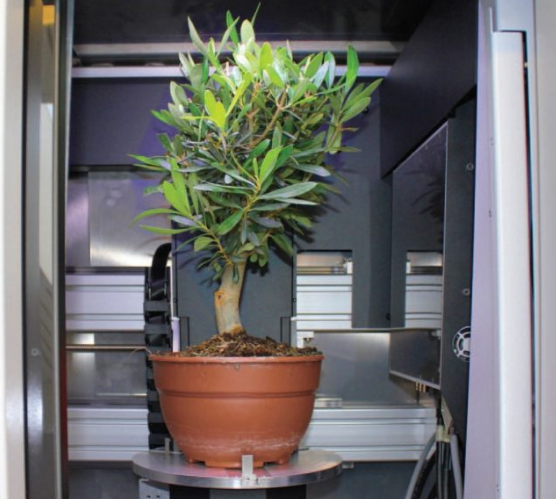
The large sample room of SKYSCAN 1273 can accommodate a larger range of samples than can be scanned through a single detector field of view.
Through segmented scanning and detector bias scanning, SKYSCAN 1273 can scan large objects with a diameter of up to 250 mm and a length of up to 250 mm.
3D SUITE can automatically and seamlessly stitch oversized images together.
SKYSCAN 1273 is equipped with a brand new 6 MP large-sized flat panel detector, which has a larger dynamic range and achieves higher contrast.
With a fast frame rate and specially optimized scintillator, it can obtain excellent images in less than 15 seconds, which is very suitable for time-resolved 3D X-ray microscopy imaging.
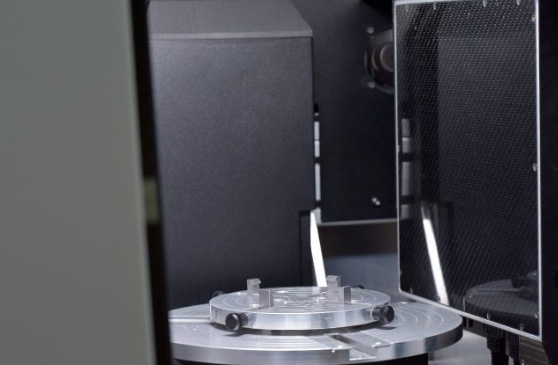
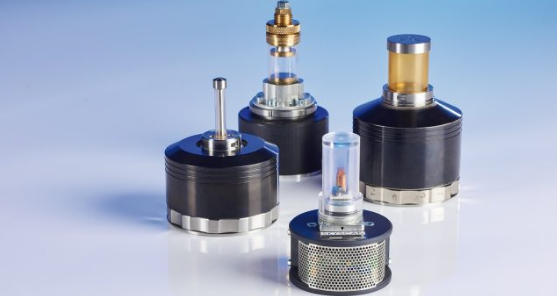
Brooke's material testing platform can perform compression tests up to a limit of 4400 N and tensile tests up to a limit of 440 N. All test benches can be automatically connected together through the system's rotary table without the need for any external cables. By using the provided software, a scheduled scanning test can be set up.
Brooke's heating and cooling tables can reach temperatures up to 80 º C at the top or 30 º C below the ambient temperature at the bottom. Like other test benches, the heating and cooling benches do not require any additional connections, and the system can automatically identify different test benches. By using heating and cooling stages, samples can be tested under non environmental conditions to evaluate the effect of temperature on the microstructure of the samples.
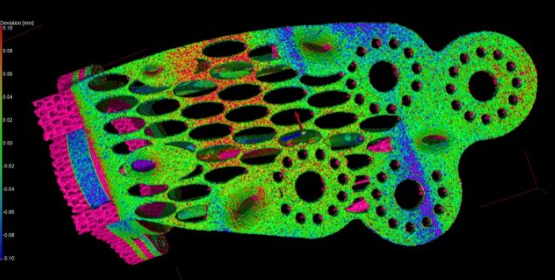
Additive manufacturing, also known as 3D printing, can be used to manufacture components with complex internal and external structures. Unlike traditional technologies that require special molds or tools, additive manufacturing can be used to economically produce individual product prototypes as well as to produce large quantities of components. After production is completed, in order to ensure that the performance of the produced components meets expectations, it is necessary to verify the internal and external structures. XRM can perform this type of testing in a non-destructive manner, ensuring that the produced components meet or exceed the specified performance.
·Check for internal voids formed by residual powder
·Verify internal and external dimensions
·Direct comparison with CAD models
·Analyze components composed of a single material and multiple materials
Designing and testing packaging is crucial to ensure that drugs are delivered to patients in a correct and safe manner. XRM can perform rapid testing under non-destructive and sterile conditions to achieve quality control, ensuring that both the production process and the products produced meet the requirements.
·High throughput scanning of medical devices for quality control
·Check the integrity of drug packaging with a maximum size of 20 cm x 20 cm x 20 cm
·Monitoring and controlling the quality and consistency of internal metal and plastic components
·Measure internal and external dimensions and detect defects
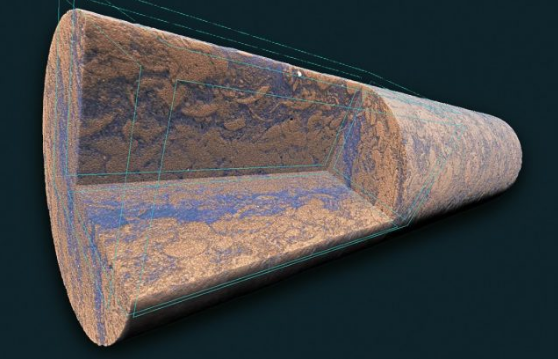
XRM can perform non-destructive testing on different geological materials, from small mineral samples to large-sized rock cores.
·Quantitative analysis of structural parameters such as particle size, open/closed pore size, and connectivity
·Calculate the 3D distribution of mineral phases
·Realize the correlation between sample structure and mechanical properties through in-situ mechanical experiments
·Visualization of fluid flow, crystallization, and dissolution processes in porous media